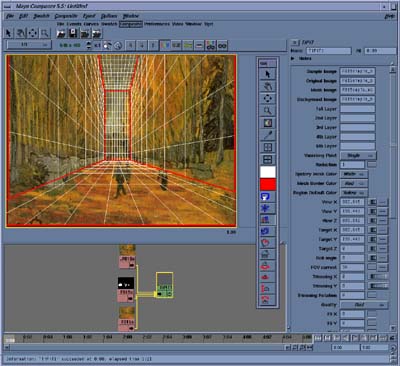
 Fig. a edit mode "Edit Region" |
An edit mode is switched to a mode "Edit Region" by clicking a button "Edit Region" in a toolbox. An layout image is shown in the below figure. A 3D geomery for the spidery mesh is shown in the swatch window.
Fig. a edit mode "Edit Region" |
Button Effective Edit Mode 
Edit Region
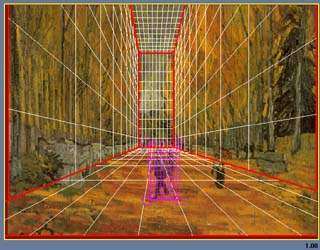
For TiPiT v1.5, you can make a region with a rectangle by your dragging on the swatch window with middle button of the mouse. Then vertexes of a region is adjusted by a mouse-drag with a left button of the mouse.
|
Making RegionsIn the left image, a mesh with magenta color is a region created and selected. If the region is not selected, it has a default color for a region. In the default, a bottom edge of a region touchs with the ground (as a wall Floor) and the edge is drawn with a thick line. |
|
|
|
|
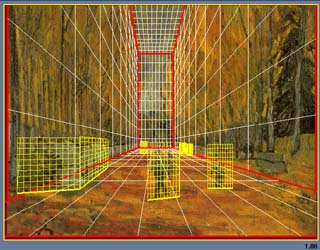
Editing RegionsThen vertexes of a region is adjusted by a mouse-drag with a left button of the mouse. In the left image, all regions have been made and vertexes of all regions have been adjusted. |
|
|
|
|
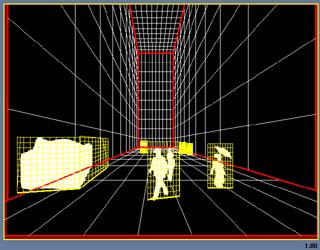
Checking Regions
In the left image, there is a case connecting the same as an input Mask Image to an input Sample Image of TiPiT. You can also get this state by clicking a button "Switch Texure", several times. |